Wednesday, December 19, 2018

ODBD December 2018 Release-Flourished Tree

Hello crafty friends!
Less than a week before Christmas, hard to believe! I’m dropping in to share my final two cards from the ODBD December 2018 release. These are the quickest, easiest cards to make. I used the stand-alone die, Flourished Tree Inset Die and combined with some designer papers from the 2018 Christmas Collection. That’s all you need!
For both cards:

  • Trim your designer sheet panel to the size of your base.
  • Place the die where you’d like, tape with a light removable adhesive to secure and then run through your die-cutting machine.
  • Place a contrasting piece of designer paper behind your die cut and tape to the back of the panel so it shows through the front.
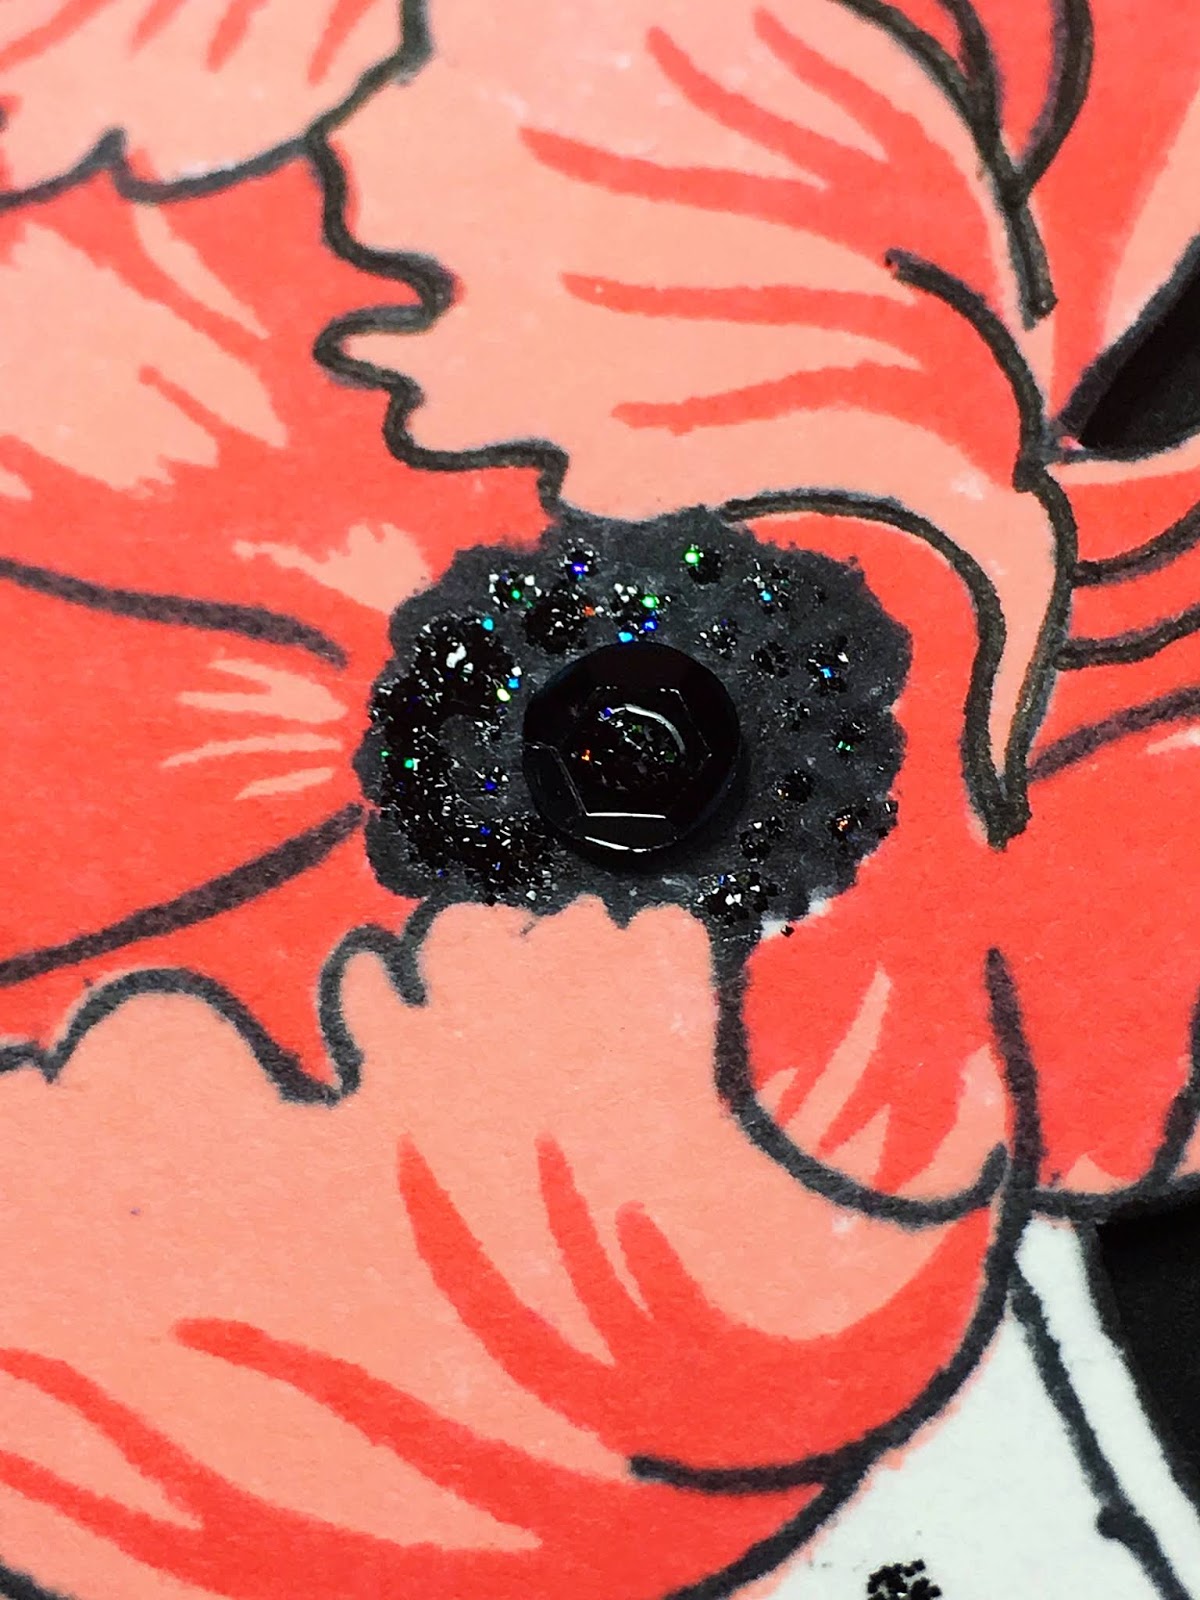
  • Adhere the panel to your base, you can add sequins or Stickles or glitter glue to your tree and/or paper for an added touch. You can add the sentiment of your choice or leave it blank as I did.
  • Done!


A big thanks to Our Daily Bread Designs for having me as a guest designer this month, it is always an honor!
I hope you’ll take a look at the entire December bundle, so many goodies in there!

Merry Christmas to you are yours!
Blessings,
Michelle

Wednesday, December 12, 2018

ODBD December 2018 Release-Warm Winter Greetings

Hi again, crafty friends!
This week I am highlighting two stamp sets, Winter Greetings and Seek Me, from Our Daily Bread Designs’ December release.

Card #1
This little guy is so cute!

  • I started by stamping white cardstock with ODBD’s Wood Background stamp in a very light beige ink.
  • I then stamped the owl image in brown ink, and colored it using Prismacolor pencils.
  • Because I felt he needed to look fluffy I used my snow pen on his chest, wings and head. Heat set and watch the magical puffing of the ink! Here’s a close-up:


  • Using the Pierced Rectangle dies, I cut a frame out of dark green paper from the Christmas Collection 2017 paper pad.
  • I then used coordinating sheets of paper from the same pack to cover my base and mounted the framed image on top.
  • The sentiment comes from the same set.

Card #2
I wanted to create a beautiful, wintery scene for this beautiful stamp.

  • I started by taking a scrap piece of cardstock and cutting the slopes using a die from the Curvy Slopes die set. I used it to lay on my panel before I stamped the trees. Voila, instant mountains.
  • I continued with the second line of trees but stamped twice to make them a little darker, this gives the illusion of being closer.
  • The third line of trees I added some blue ink for a Blue Spruce tree look.
  • Finally the larger tree in front, another image from this set, I stamped adding more blue and dark greens.
  • I then cut another slope, covered it in adhesive tape and added a super fine glitter for the appearance of snow, and glued to my card base. I then decided to add more “snow" throughout the scene.
  • Once I was finished with my scene I taped it to a sheet of paper from the same Christmas Collection 2017 pad.
How are you coming along with your Christmas cards? I’m great at creating them, not-so-great at mailing them!!! Yikes.
Thank you for stopping by and leaving a comment, It makes my day! Michelle

Thursday, December 6, 2018

Altenew BAF-Poppy Winner

Good morning! And now to announce the blog-hop winner from the BAF Poppy Blog-hop and giveaway ($20 gift certificate from Altenew). 
and the winner is...

SANDY


Sandy, I have emailed you.

Thanks to everyone who participated and left a comment, hugs!

Michelle

Wednesday, December 5, 2018

ODBD December 2018 Release-Peace & Joy

Hello Friends!
Our Daily Bread Designs December 2018 release is another gorgeous issue of beautiful stamps and dies to help finish those holiday cards!  Here is a look at the release.

Using the Peace & Joy die I created the following two cards.
Card #1
  • I used these gorgeous papers from the Christmas Collection 2017.  No stamping for these cards, easy peasy!!
  • I ran the die through the dark green sheet of paper plus two additional times on regular 110 lb white cardstock, I then stacked the letters together to give the appearance of chipboard letters with dimension.
  • I then used the Leafy Edged Borders on the snowflake sheet of paper and glued it to the lighter green sheet on my base.
  • Then positioned the letters and glued down. 
  • For an added “Christmas-y” touch I added Stickles to the snowflakes, they shine so pretty in the light.
Card #2
This also was a VERY easy card, only paper was used. I took a gold sheet from the Winter Collection 2014 centered the die and ran it through my die-cutting machine and a purple sheet from the Plum Pizzazz paper collection.

Thank you for stopping by! Michelle

Saturday, December 1, 2018

Altenew Build-A-Flower: Poppy Release Blog Hop + Giveaway

Hi Crafty Friends! You should have arrived here from Therese Calvird's incredible blog.
I am beyond thrilled to be part of this Altenew blog hop! Total fangirl moment😆😆
Floral images and layered stamps are at the top of my favorite card-making supplies and Altenew is a master of both. It is no surprise I have several projects to share with you using the new Build-A-Flower: Poppy stamp/die duo. First, take a look at the set:
Purchase the Build-A-Flower: Poppy & Ink Bundle here and receive a 5% discount on the duo.
It comes with a layering guide as well or you can also download it from the product page:
Now on to the cards I created using the set.
  • I created these cards at the same time, using my MISTI made it easy. All of my cards (except the note cards below) measure 5 x 6.5 inches.
  • First I stamped the images using Tea Party and Rose Petal ink sets along with Memento Black ink for outline.
  • I fussy cut the white areas right of the images. 
  • I used a strip of black paper on the right side to make the flowers pop.
  • I glued the panels down to the base while popping up the right sides with foam tape.
  • The sentiments come from the same set.
  • As a final touch of bling I added black sequins to the centers and Black Diamond Stickles for the rest of the centers as well as to add some “freckles” around the images.
Here is a video if you would like to watch my card-making process:

A few other cards I created:
  • For the next card I used the Tea Party mini ink cube set and the Green Fields alcohol artist markers to color the flowers/leaves
  • Die cut the images
  • Gold heat embossed the background using Altenew’s Rustic Linen clear background stamp.
  • Arranged the flowers in a half-wreath shape.
  • For the holiday sentiment I used the Beautiful Inside set and framed it in black card from my stash.
  • Black Diamond Stickles added just a hint of shine to the centers of the flowers.
Finally, I wanted to create a set of simple 4-bar (3.5 x 4.875) thank you notes. I love them! SO easy to create. Again I colored these images using Altenew ink sets in Cherry Blossom and Rose Petal. The sentiment comes from the Painted Butterflies set.
I hope I’ve given you some ideas for this set! Now on to more good stuff!

Prizes:
  • To celebrate this release, Altenew is giving away a $30 gift certificate to 5 lucky winners! Please leave a comment on the Altenew Card Blog for a chance to win. Five winners will be announced on the Card Blog on 12/9/2018.
  • I will also be selecting a random winner to receive a $20 gift certificate, just leave a comment on this blog post. I will announce the winner on my blog on 12/6/2018. 
Your next blog stop is the talented Svetlana Shayevich. If you lose your way, here is the entire blog list beginning with Altenew:

Thank you for stopping by and leaving a comment-it makes my day! Michelle